Magento basic User Guide
- Store Name
- Category and product management
- Setting order notification email
- Setting up PayPal as payment provider
Magento has a lot of customization options, here are some of the basic ones to help you get started. First, you need to log in to your website’s Magento backend. Go to yourname.host2.dropshipexplorer.com/admin or yourname.host1.dropshipexplorer.com/admin (if the website is transferred to your own domain, then go to yourdomain/admin). Use the username and password you received in an e-mail with the “Your dropship website has been created” subject line.
Store Name
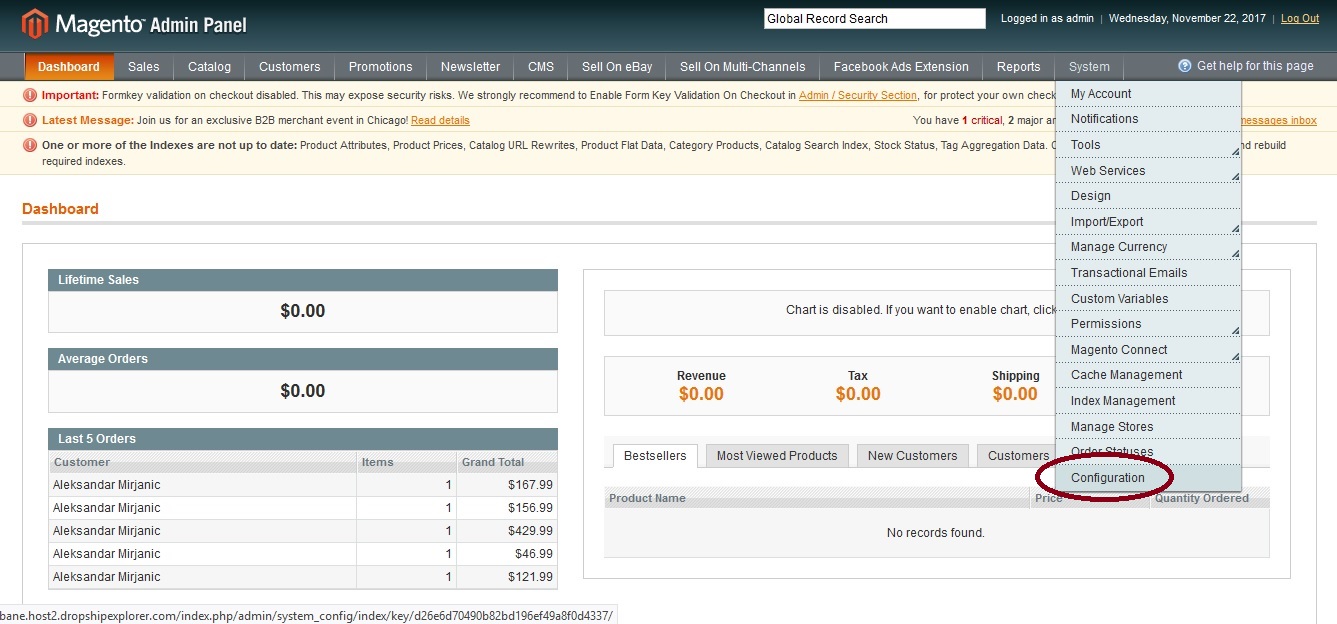
To change your store name please first go to System > Configuration.
Then go to the General > Design item on the left.
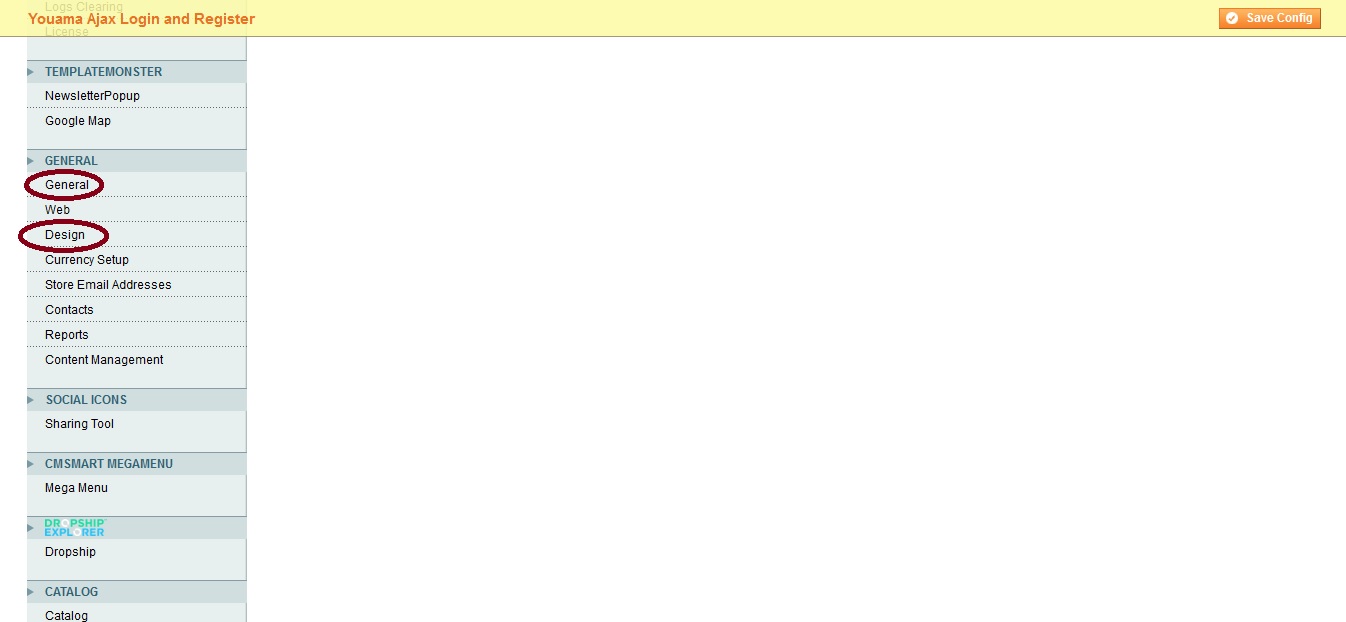
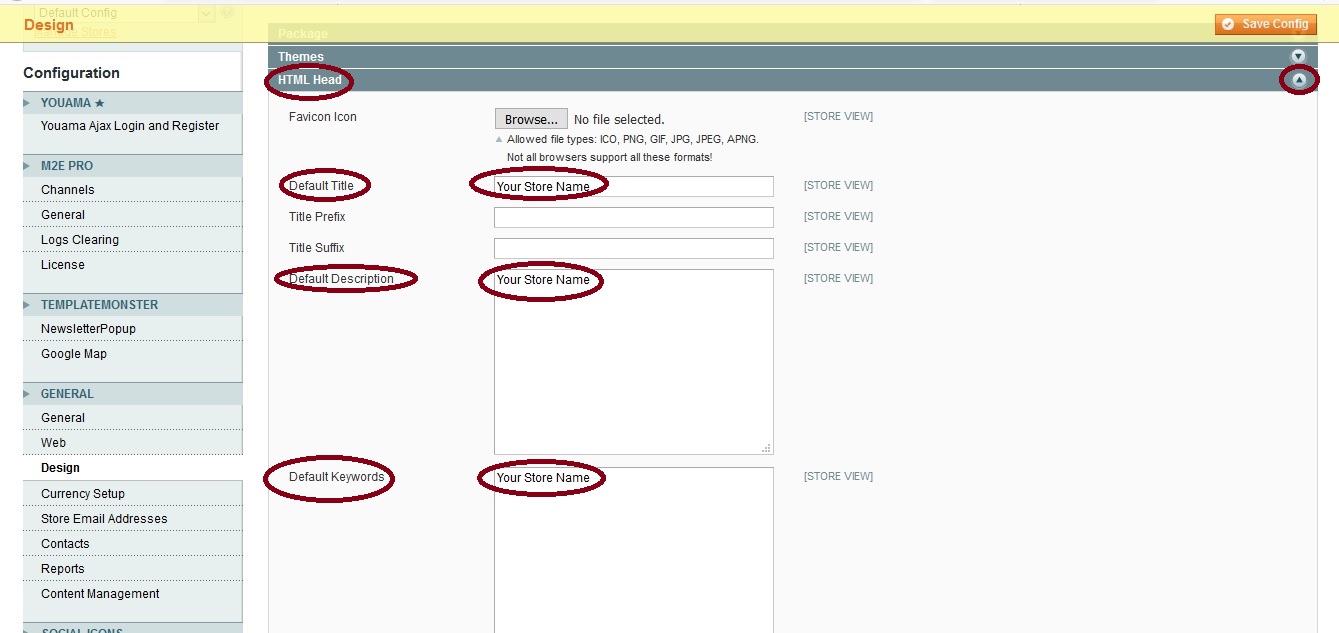
Collapse down Store information and change the Store Name to yourdomainname (or any other name you want for your store). For the purposes of this explanation it'll be called Your Store Name further in the text. When you're done, click the Save Config button in the upper right corner. Now go to the Design menu item on the left. Collapse down HTML Head and enter Your Store Name in the boxes Default Title, Default Description, and Default Keywords.
Then collapse down Header and enter Your Store Name in the Welcome Text box. You can enter just Your Store Name instead of your name, or you can change the entire message.
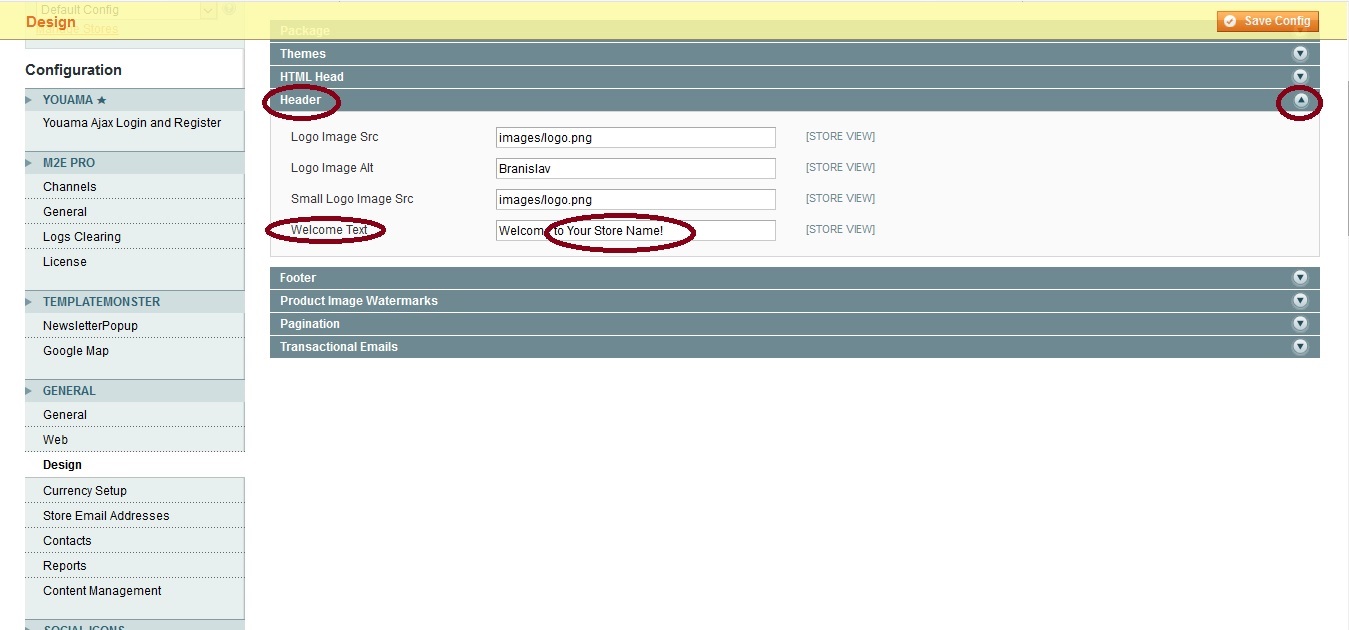
Than collapse down the Footer. In the Copyright box update the name with Your Store Name. Don't forget to click the Save Config button after you finish.

Please bear in mind that your name in the upper left corner of the website homepage is an image file. It should be replaced with your logo - a JPEG file with 640x480px dimensions. If you need help with creating one, https://www.fiverr.com is a great place to start. For just $5 you can get a nice logo and for a bit more, you can even choose between several options.
Category and product management
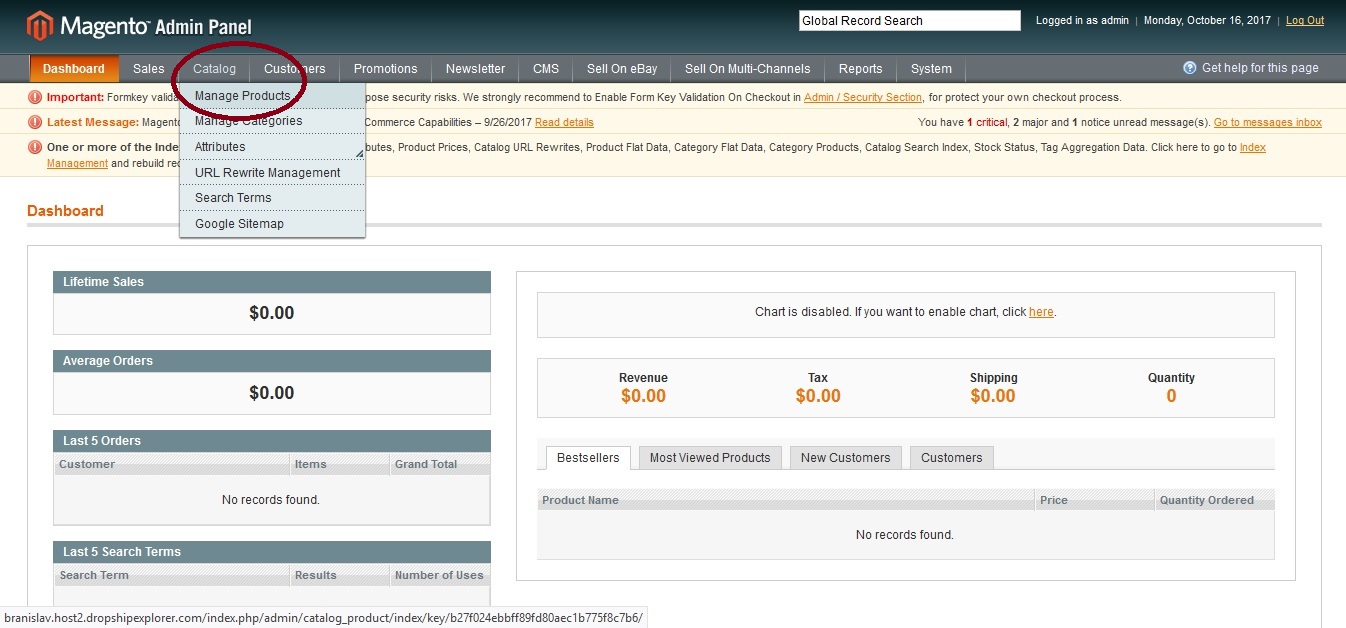
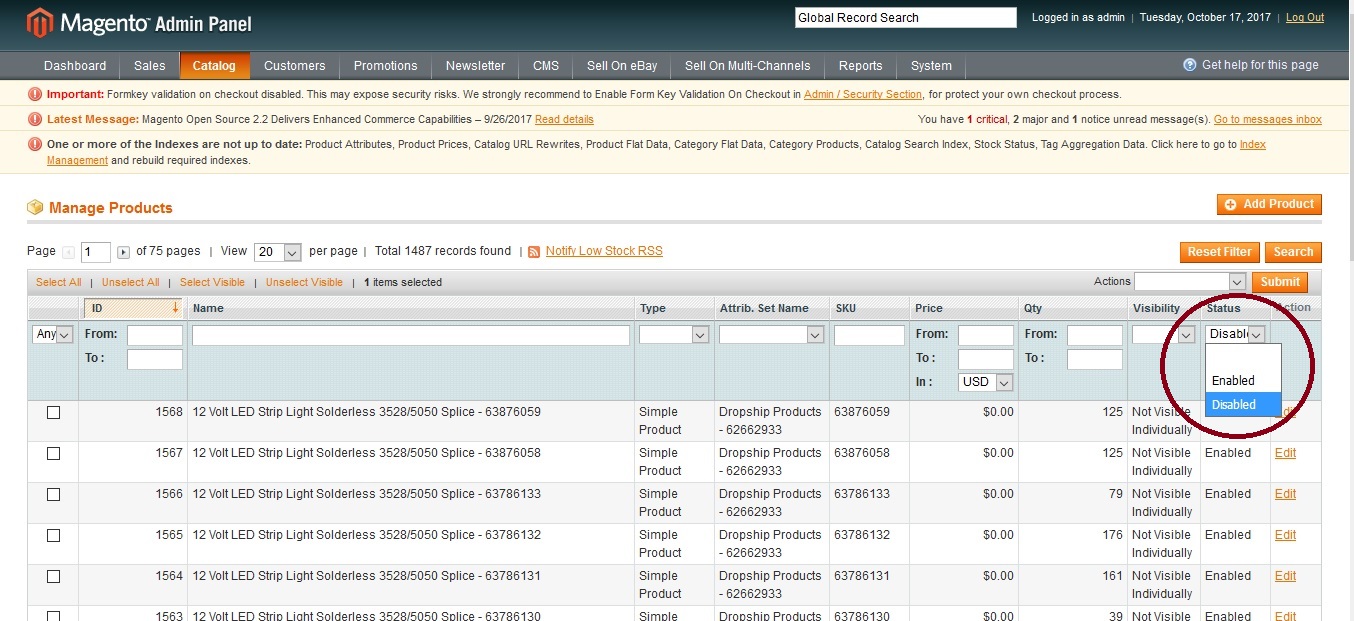
To manage products go to the Catalog tab > Manage Products.
Here you can enable or disable products that are on the website, change their description, etc. If there are several products with the same name, and price is $0.00 for all of them but one, that means that product is configurable.
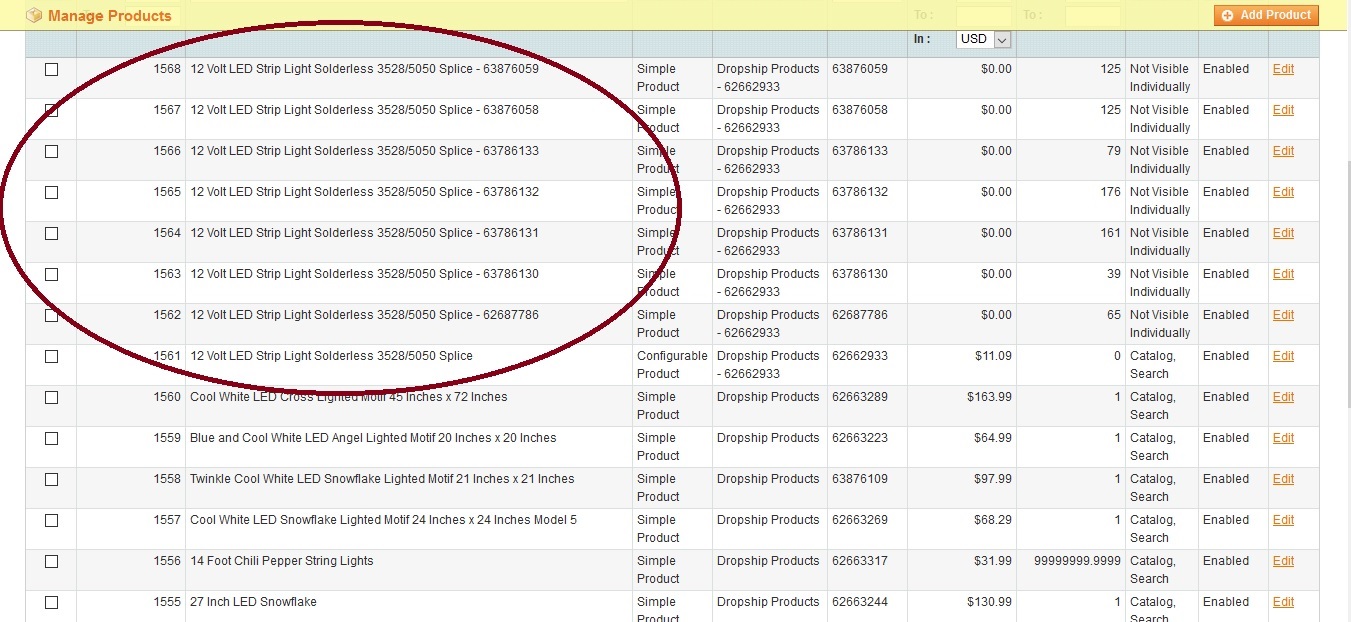
That essentially means that on your website, when you open this product there will be a drop down menu (or menus) where you can choose an option (or options), for example, size, color, etc. All of the options have to be uploaded as a Simple Product in the backend, but on the website they all combine to make only one, Configurable Product that will be visible. When uploaded, all the products will be visible by default. To disable a product, tick the check box,
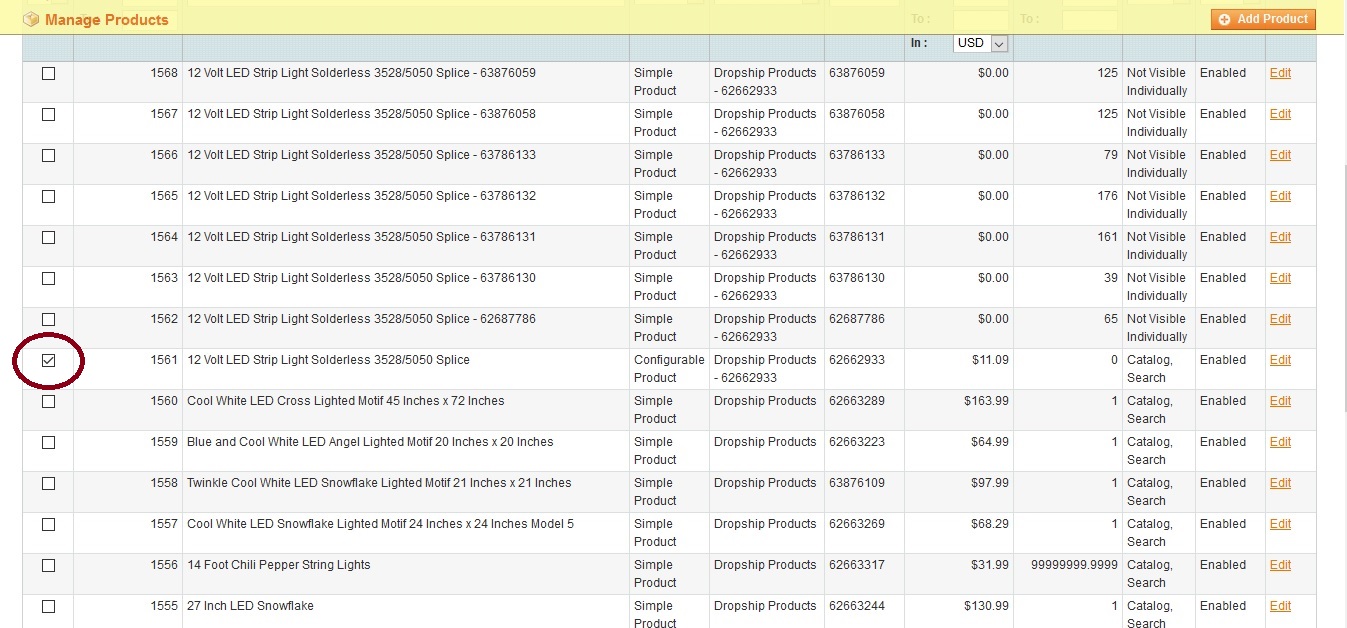
then go to the Status drop down menu, and choose Disable.
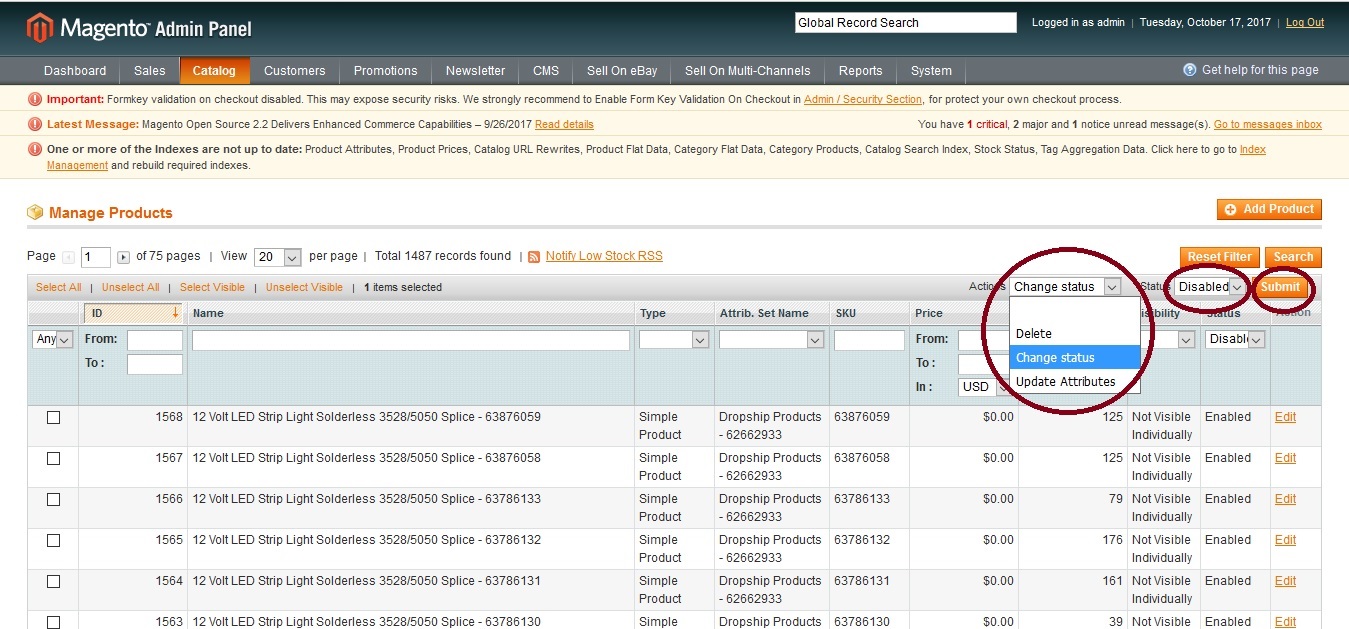
Go to the Actions menu, choose Change Status, then in the Status menu choose Disabled, and click the Submit button.
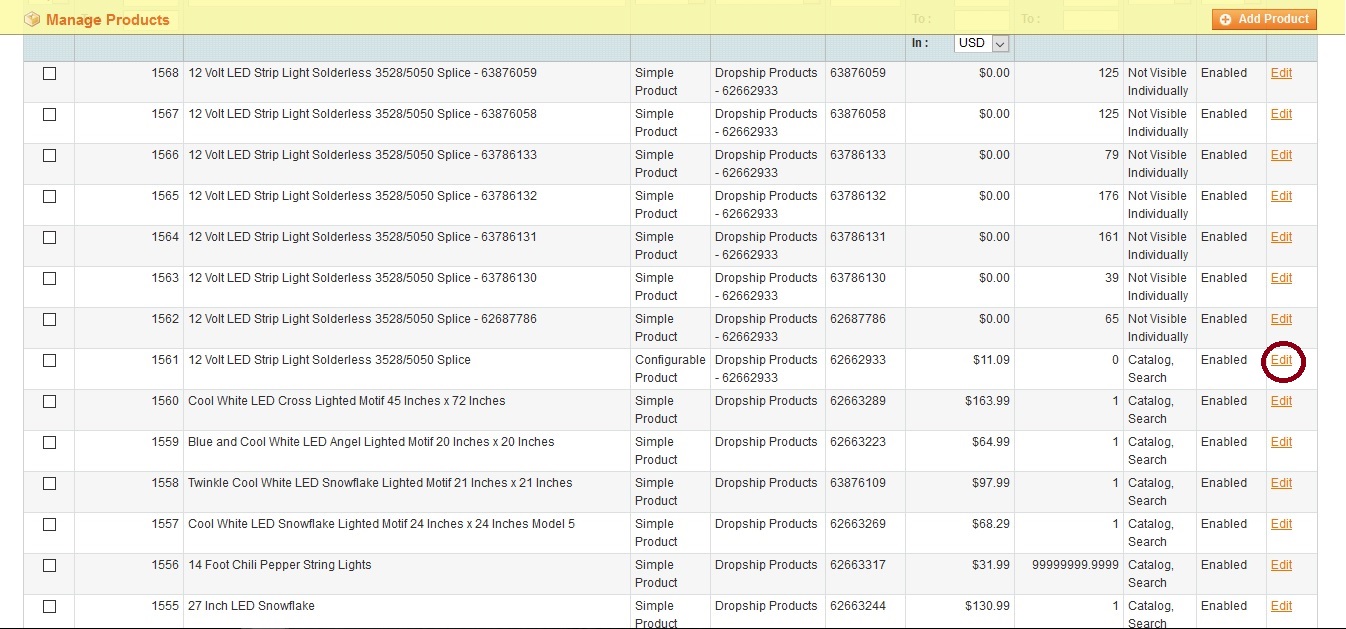
You can also edit every uploaded product by clicking the Edit link.
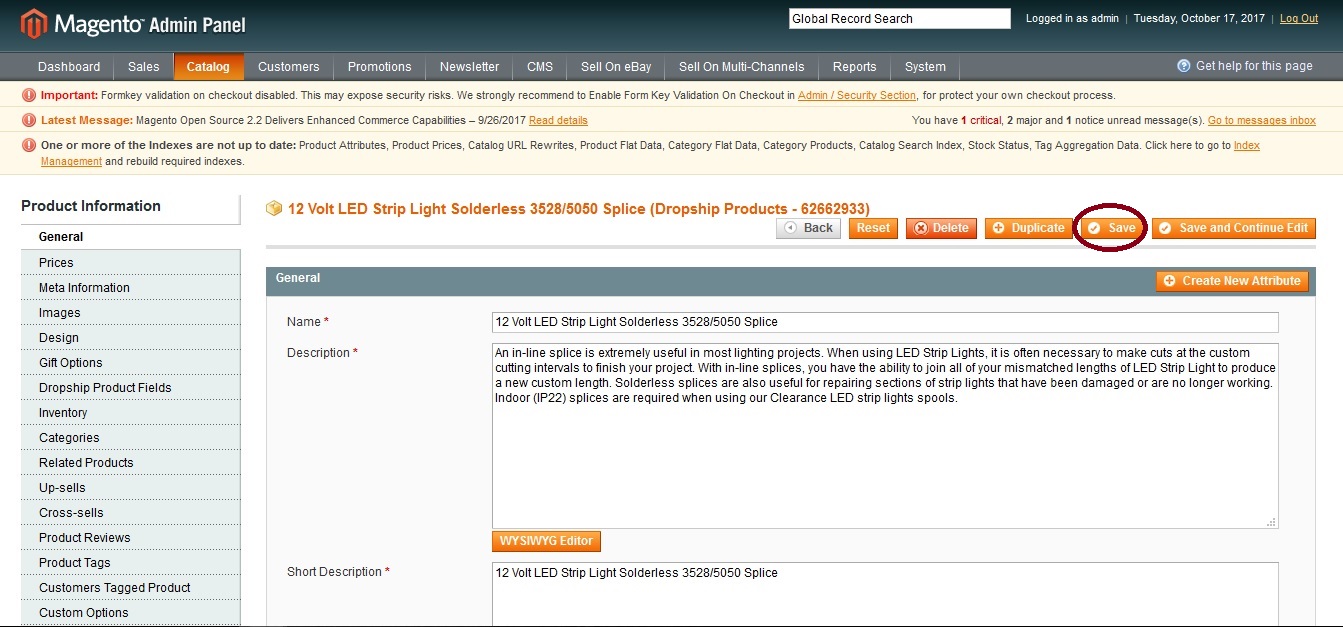
Here you can change the product’s title, description, as well as product status to disabled, just don’t forget to press the Save button after you finish making changes.
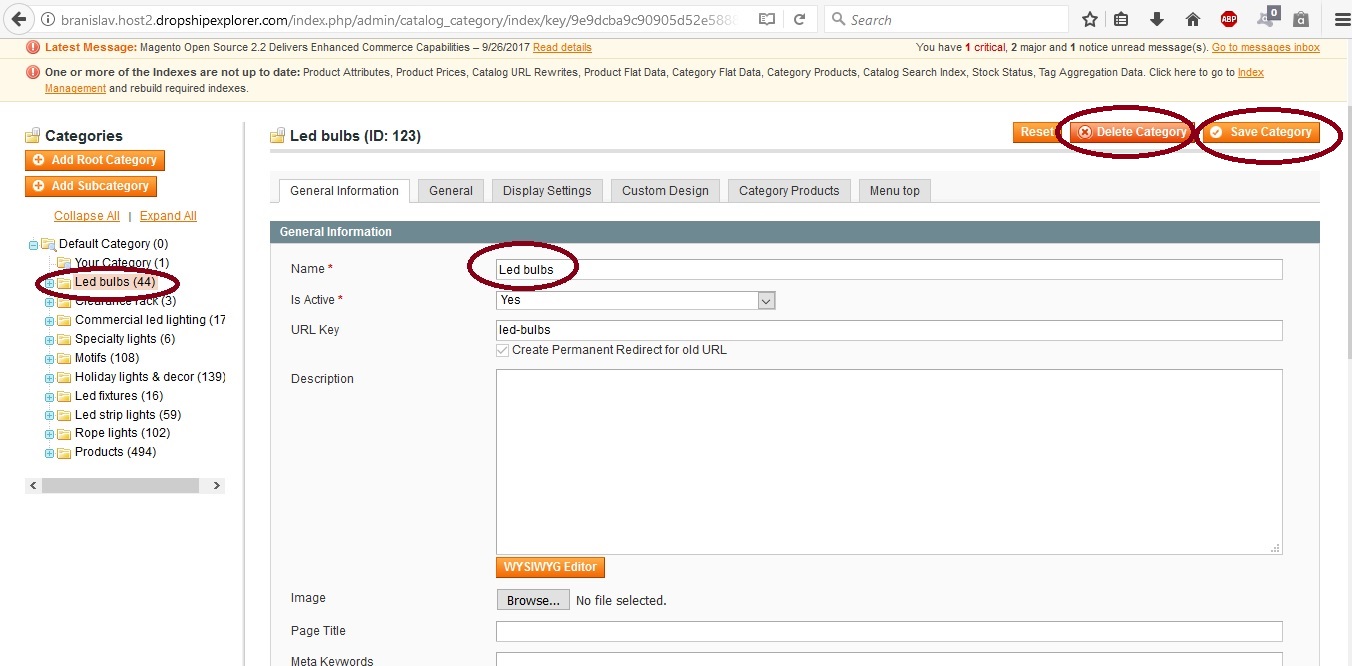
To manage categories go to Catalog tab > Manage Categories.

When you click on a category title you’ll be able to change the category’s name, just remember to click the Save button after you make a change. You can also delete the category by clicking the Delete Category button.
Setting order notification email
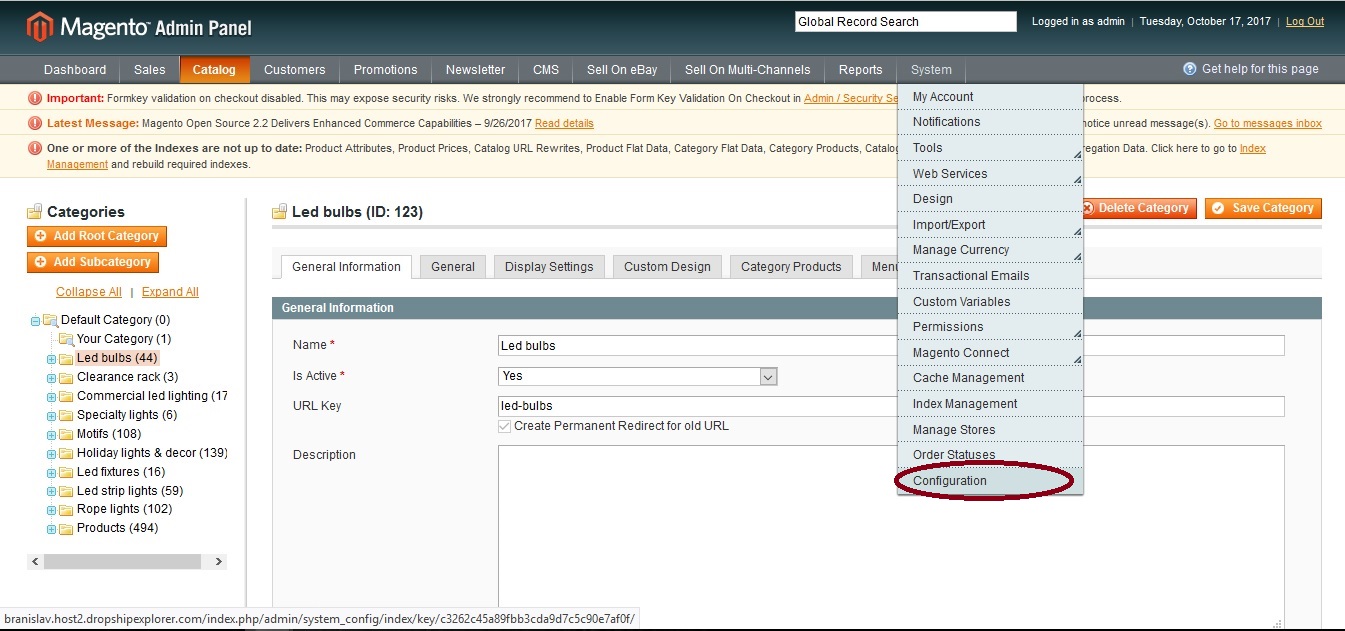
To set up order notification email that you will get every time a customer makes an order, go to the System tab > Configuration.

Scroll down to the Sales Emails on the left side of the screen.
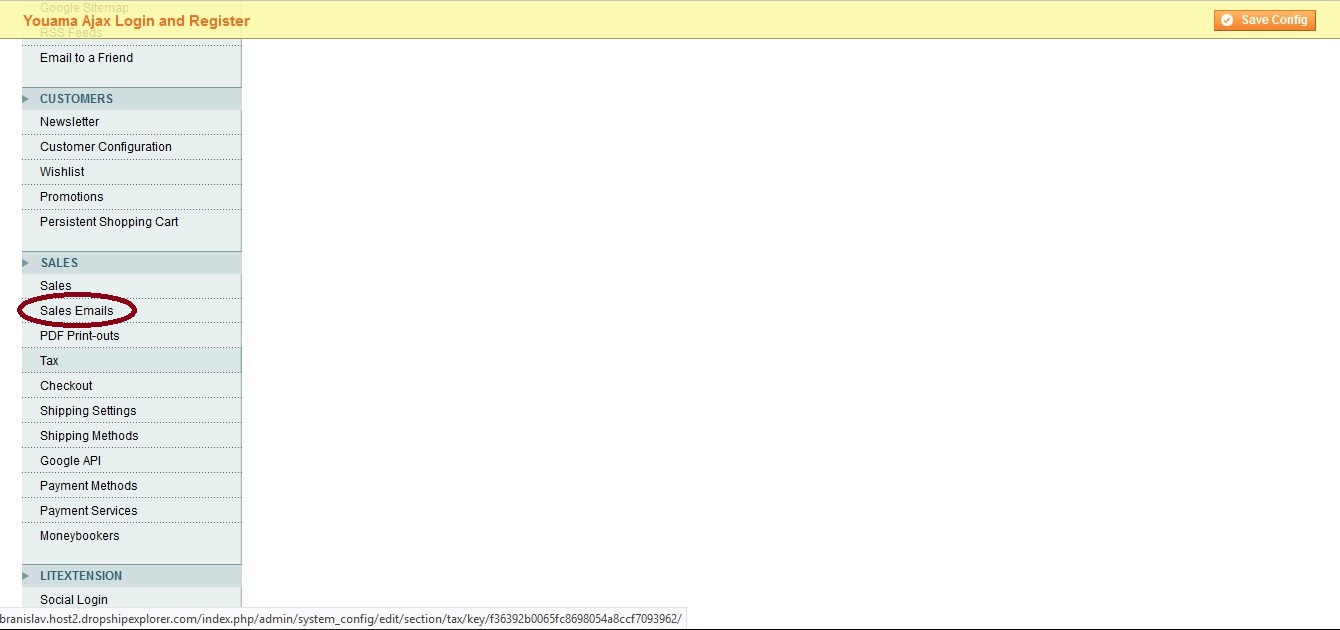
Click Order.

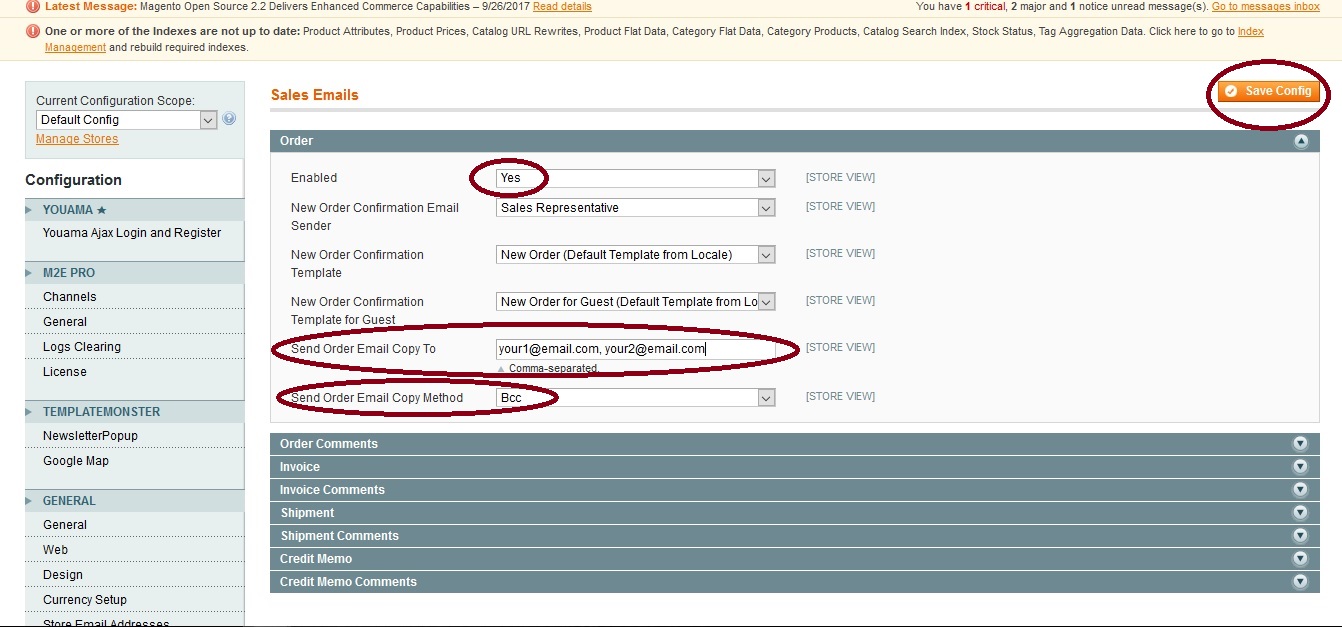
Enabled should be set to Yes. Enter your email address in the box Send Order Email Copy To. You can enter more than one email address, just separate them with commas. Send Order Email Copy Method should be set to Bcc. Make sure to click the Save Config button when you’ve finished.
Setting up PayPal as payment provider
To set up PayPal as payment provider you should first open a PayPal Business Standard account. This account allows you to accept payments via PayPal and PayPal Credit, as well as credit and debit cards. To learn more about this and open your account, go to
https://www.paypal.com/us/webapps/mpp/paypal-payments-standard.
To set up PayPal as payment provider go to System tab > Configuration.
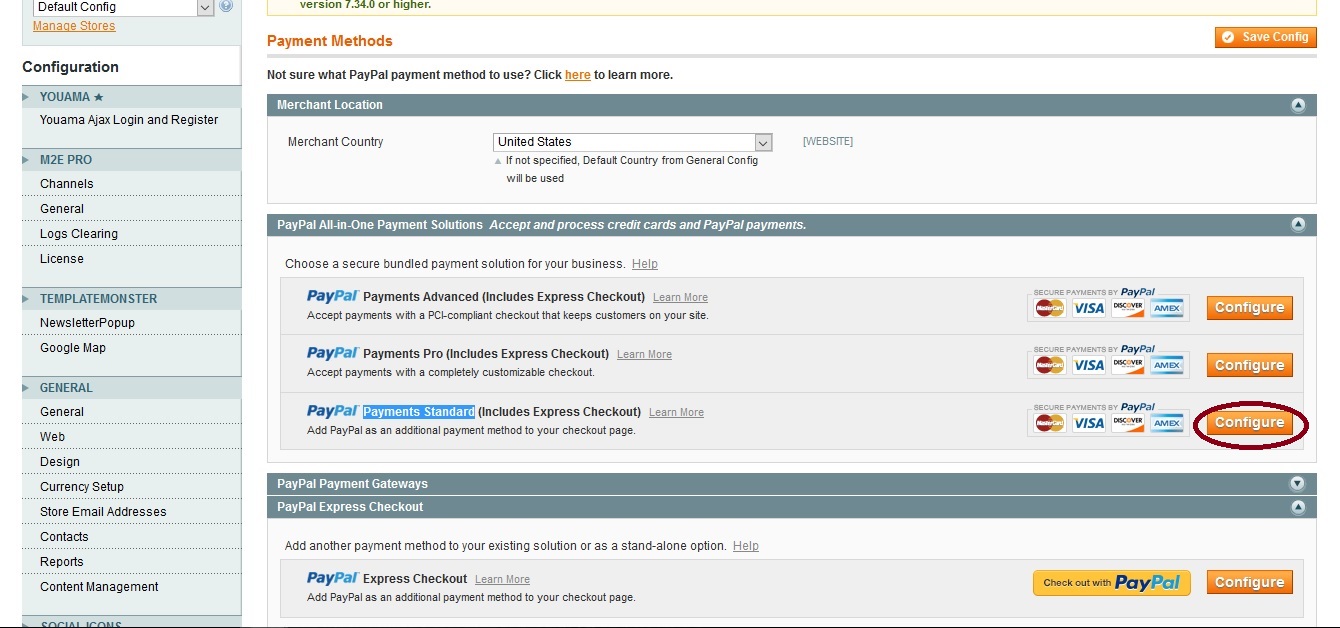
Scroll down to the Payment Methods on the left side of the screen.
.jpg)
Go to PayPal Payments Standard and click the Configure button.
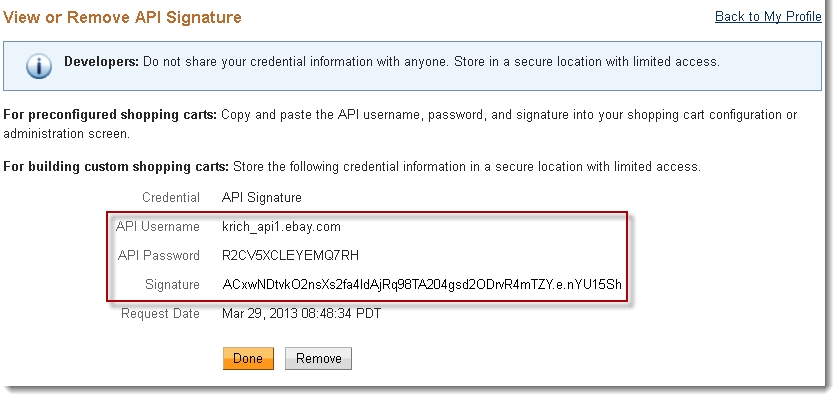
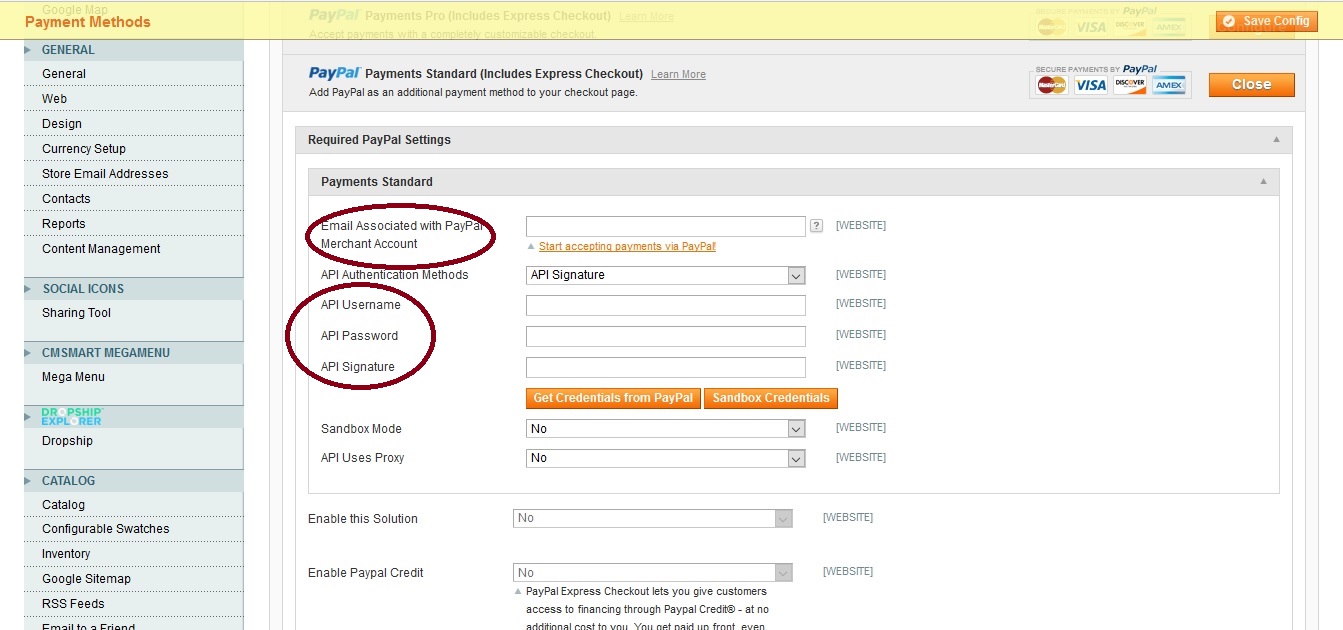
In the boxes Email Associated with PayPal Merchant Account, API Username, API Password and API Signature enter your credentials. Read more about how to obtain your PayPal credentials at the end of this guide.
Scroll down to Enable this Solution and set it to Yes.
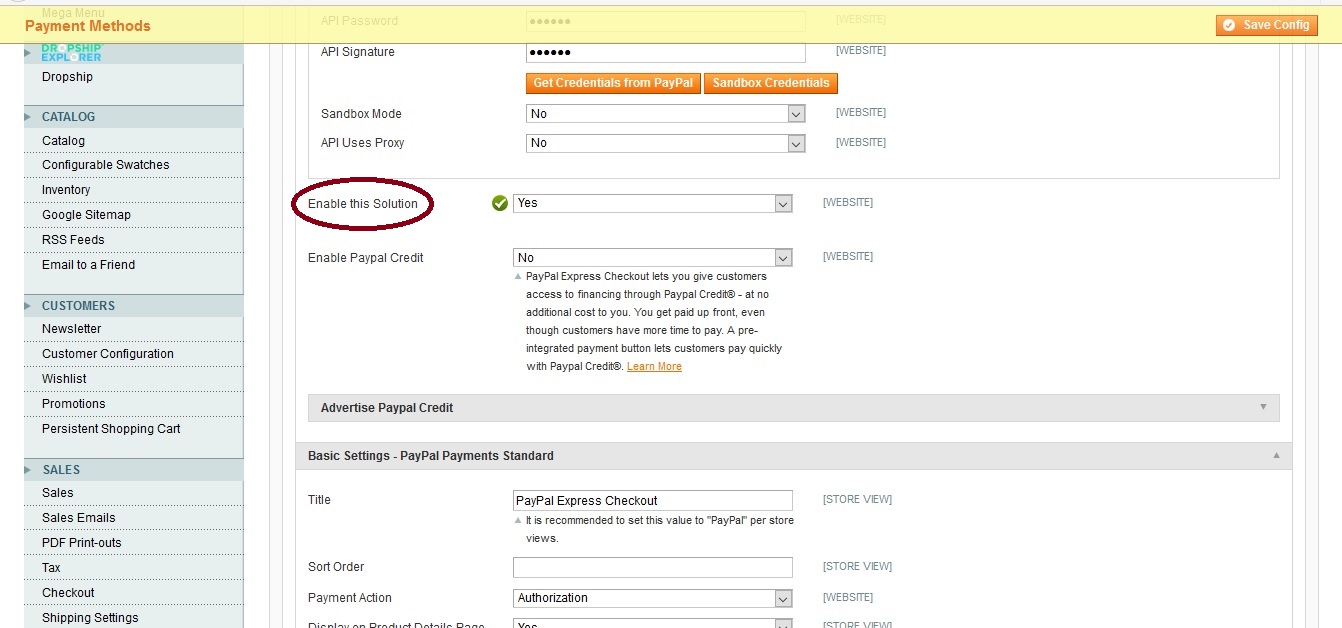
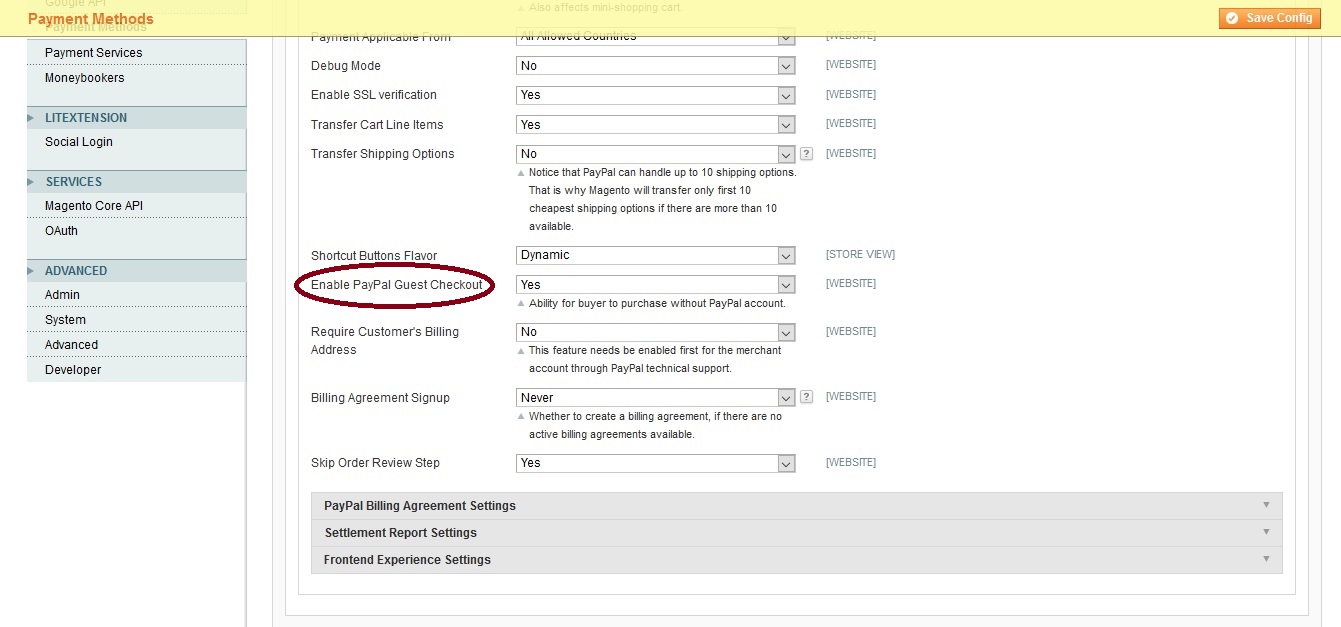
Then scroll down to Basic Settings - PayPal Payment Standard, and click the Advanced settings.
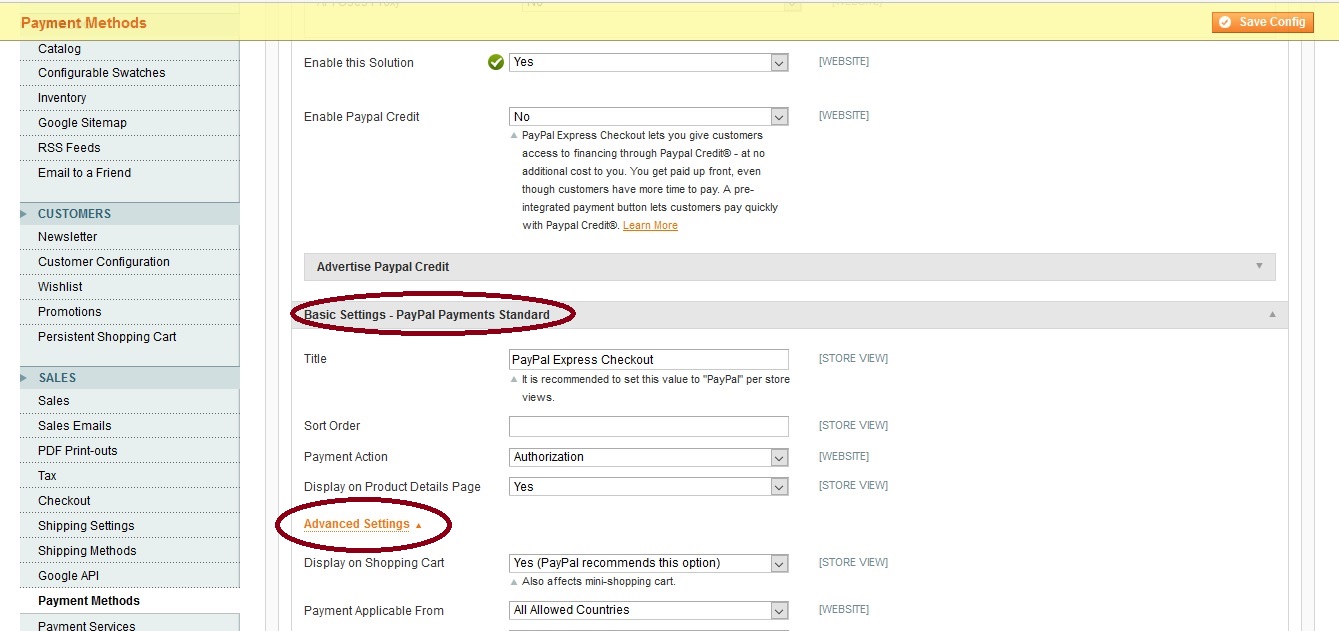
Then scroll down to Enable PayPal Guest Checkout and set it to Yes.
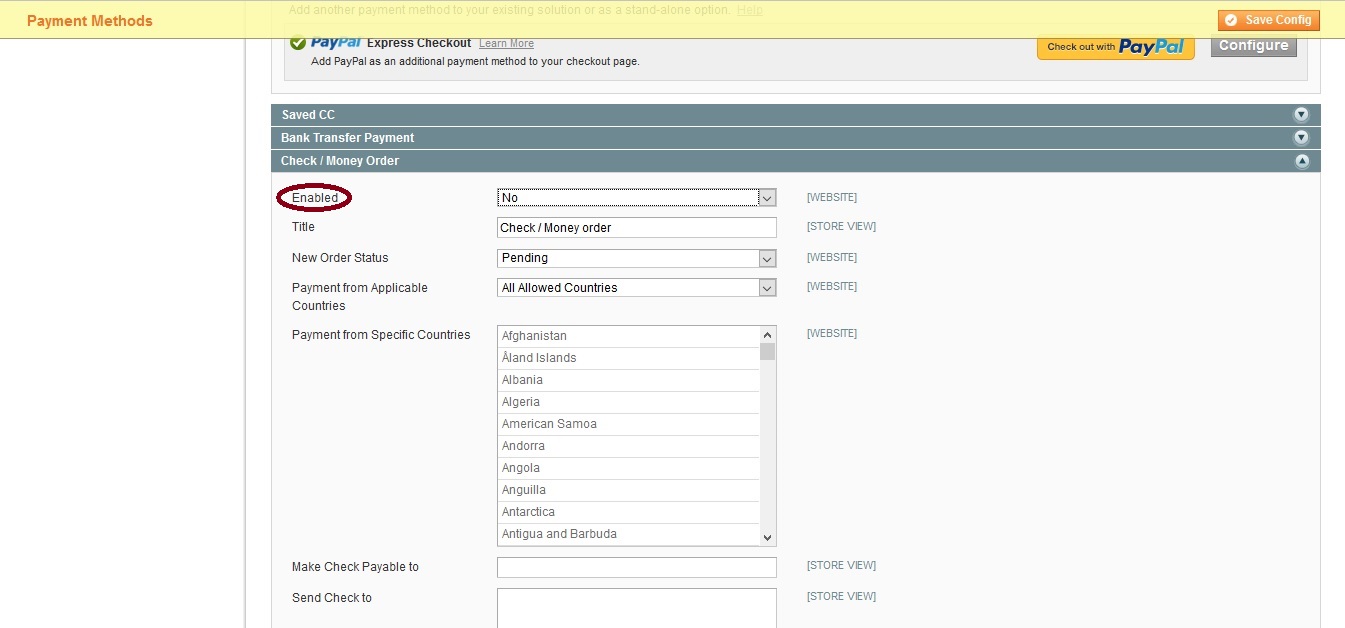
Your website has Check / Money Order enabled by default. To disable this, go to Check / Money Order and change Enabled to No.
To get your PayPal API Username, API Password and API Signature log in to your PayPal business account at www.paypal.com. Click the profile icon ( ) on the top right side of the page. From the Business Profile menu, select Profile and Settings (Note: If you do not see the profile icon on the top right, select Profile which appears in the top menu when My Account tab is selected.) From the left menu, click My selling tools. In the Selling online section, click the Update link for the API access item. To generate the API signature, click Request API Credentials on the API Access page. (Note: If you've already generated an API signature, a View API Signature link is displayed on the API Access page. If you need to generate a new API signature, you first need to delete the existing API signature. If the existing API signature is not being used by your live application, click the View API Signature link, and then click the Remove button to delete the existing signature.)
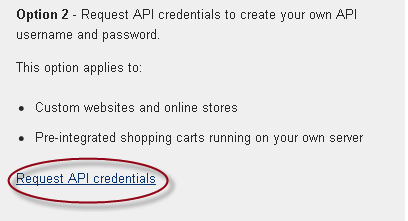
Select Request API signature and click Agree and Submit to generate the API signature.